
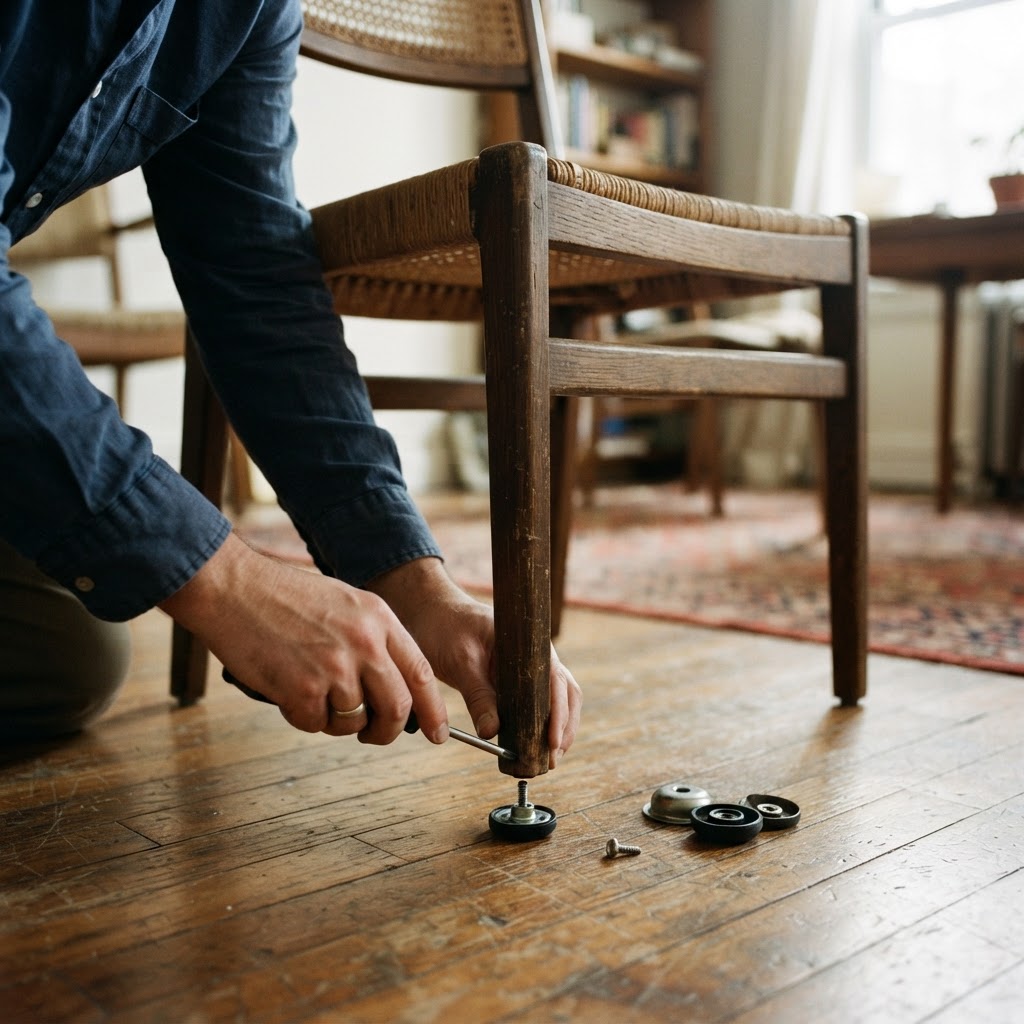
When to Replace Your Furniture Glides
If you hear a harsh scraping sound every time you pull a chair out from your dining table, your floor is paying the price. Over time, plastic or metal glides on the bottom of furniture wear down, break, or lose their felt pads. Replacing these is a simple task that can save you from refinishing your hardwood floors later. If the glide is merely loose, a quick tap with a hammer might suffice. However, if the material is cracked, missing, or permanently embedded with grit, it is time to replace furniture glides entirely to maintain your home surface.
Catching these issues early is vital for New Yorkers living in pre-war apartments with original oak or pine flooring. These historic surfaces are often softer than modern factory-finished planks. Once a glide fails, it exposes raw metal or plastic directly to the wood, leading to deep gouges that require sanding and refinishing. Inspect your furniture annually, especially after moves or seasonal cleaning sessions.
Assessing the Attachment Type
Before you head to the hardware store, tip your furniture over to see how the current glide is attached. Most furniture legs feature either a nail-in glide, a screw-in type, or a press-in plastic cap. Identifying this at the start saves you from purchasing the wrong hardware. If you are dealing with a heavy vintage piece or an expensive heirloom that you do not want to risk damaging, remember that you can always book a handyman to handle the hardware selection and installation for you.
When inspecting your legs, check the grain of the wood. If the bottom of the leg is end-grain, it is prone to splitting when you hammer in new nails. Drill a small pilot hole using a bit that is slightly smaller than the shank of the glide nail to prevent this. For metal-legged furniture, you will often find threaded inserts that accept screw-in levelers. If these are stripped, you might need to use a thread-repair kit or opt for a clamp-on protective sleeve.
Nail-in and Screw-in Glides
If your furniture has a central nail or screw, you will need a flat-head screwdriver or a pair of pliers to gently pry the old one out. Be careful not to splinter the wood. Once removed, ensure the hole is not stripped. If the hole is too wide for the new hardware, a tiny bit of wood filler or a wooden toothpick with wood glue can tighten the fit. Insert the new glide and tap it gently until it sits flush against the leg.
For screw-in types, use a drill on the lowest torque setting to avoid stripping the interior wood. If the glide is a swivel type, make sure the ball joint moves freely before installation. If the glide is seized, a drop of lubricant can sometimes free it up, but replacement is usually the better long-term choice. Ensure the glide is perfectly vertical when installed. A tilted glide puts uneven pressure on the floor surface.
Tackling Press-in or Adhesive Glides
Many modern flat-pack pieces use plastic cups that snap over the leg or adhesive pads that stick to the bottom. For these, scrape off the old residue with a plastic putty knife. Cleaning the surface with a small amount of rubbing alcohol is essential to ensure the new adhesive sticks correctly. If you recently purchased new items and find the assembly instructions overwhelming, it is often easier to book furniture assembly to ensure every component, including the floor protection, is installed correctly from day one.
When applying adhesive felt, do not skip the preparation. Dust is the enemy of glue. Use a vacuum to clean the underside of the chair leg thoroughly, then use a degreaser. If the leg bottom is irregular or rounded, choose a heavy-duty felt with a wrap-around design. Press the pad down firmly for thirty seconds, then leave it for several hours before sliding the chair across the floor. This allows the adhesive to cure properly.
NYC Floor Protection Guidelines
Many NYC landlords and co-op boards have strict rules regarding flooring. If your lease requires a specific percentage of floor coverage or forbids certain types of furniture feet that cause indentations, you should prioritize high-density felt or specialized silicone cups. Heavy furniture on soft wood can create permanent divots. Using glides with a wider surface area helps distribute the weight of your couch or dresser across a larger footprint.
If you live in a high-rise building, check with your building manager before performing major repairs on furniture legs, especially if you are concerned about building noise. While replacing a glide is quiet, heavy construction can cause vibrations. Maintaining your floor protections is a proactive way to avoid security deposit disputes when your lease ends. High-quality protection is a small investment compared to the cost of professional floor resurfacing.
Maintenance Cycles and Replacement Timing
How often should you replace glides? In a busy city household, you should perform a visual inspection every six months. Check for embedded debris like sand, grit, or even small carpet fibers. Even the softest felt will act like sandpaper if it collects enough dust. If you find your floors looking dull or see new swirl marks, it is time to swap the pads. Keep extra supplies in a kitchen drawer so you can address a missing pad the moment you notice it.
For those who host frequent dinner parties, consider upgrading to nylon-base glides for dining chairs. These are more durable than felt and glide easily over both hardwood and thin area rugs. However, if you have very expensive or soft-finish wood floors, stick to high-quality thick wool felt. Replace these at the first sign of thinning or compaction to ensure your furniture does not touch the floor directly.
When DIY Efforts Stop Being Effective
There are moments when a simple DIY fix becomes a headache. If you have a large set of heavy, antique dining chairs, or if the legs are made of delicate wood that seems ready to split, you are better off calling for professional help. Working in a tight NYC studio or navigating around complex layouts can make maneuvering heavy furniture difficult. If you find yourself struggling with more than just a simple glide swap, you might also consider professional help for TV mounting or complex tech setup to manage your living space efficiently.
Frequently Asked Questions
How do I know which size glide to buy?
Measure the diameter of the furniture leg bottom using a ruler or tape measure. You want the glide to be slightly smaller than or equal to the diameter of the leg to ensure it does not hang over the edges and collect dust.
Can I use felt pads instead of plastic glides?
Felt pads are excellent for hardwood floors and quieter than plastic or metal. However, they need to be replaced more frequently in high-traffic areas because they can trap grit that eventually scratches the finish.
What if I cannot get the old nail-in glide out?
Use a pair of end-cutting pliers to grip the head of the nail firmly. Rock the pliers back and forth gently while pulling upward to remove the stubborn nail without damaging the surrounding wood.
Book help in New York
If you would rather skip the hardware store trip or if your furniture requires professional tools and expertise, our team is ready to assist. You can book a handyman to help with all your home maintenance needs across NYC.